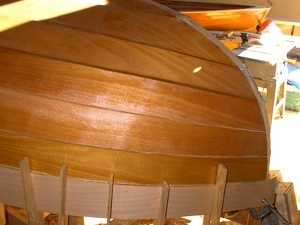
Here the second pair of strakes have been glassed to match the garboards (shows how much dust accumulates in my shelter). The gains were cut first then the glass was wetted out and finally trimmed with a utility knife once it begins to set. The third strakes are already formed and were used to mark the exact line for the gains. We're using WEST's special UV resistant hardener throughout.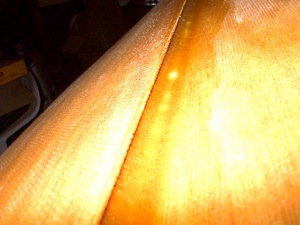
Once the second strake was glassed we formed a large cove-shaped fillet (colour-matched wood flour/406 mixture) between the garboard and broadstrake on each side. This will go a long ways towards protecting the edge grain of the plywood. While trial fitting the third pair of strakes it became clear that reaching the first planks was going to be a problem later on , so we will fillet as we add planks. The glass is strictly for abrasion resistance for beaching, trailering, etc. and is not required for strength, though some strength obviously is added by its use.
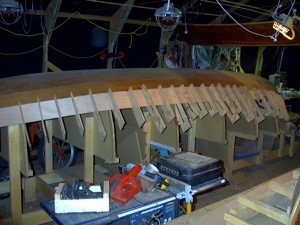
A side view for a change. The first of the third pair of planks is installed. At first we were going to use temporary screws for holding the planks together but happily decided to try Iain's plywood clamps. I highly recommend them! Mine have 18 mm slots and we have yet to even think about using wedges with them. You'll need 35-40 of them to do one side at a time.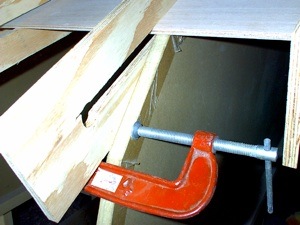
Every now and then a plank will not sit down properly on a mould. We set up a C-clamp with a plywood clamp to bring the plank into position.
The first of the fourth pair of planks in place. This view shows the work area quite well with the finished Wee Rob canoe hanging from the rafters and Wee Rob #2 just visible on its moulds on the far right of the picture. These planks are on the turn of the bilge so they have less curve than the others.
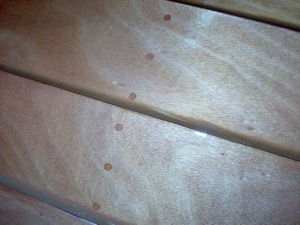
Since we're now working above the waterline, we've been using wood plugs to fill screw holes. The idea being that we may end up finishing the topsides bright. Here the plugs are epoxied in place in the new strake while the ones on the strake above it are sanded and sheathed over. Plugs cut from some mahogany scraps I had are a good match for the okoume plywood. We're using silicon bronze screws at each of the permanent frames and at the bow and stern--just in case.

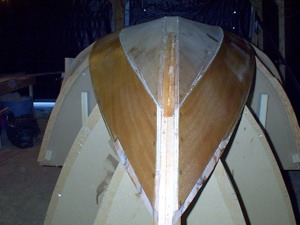
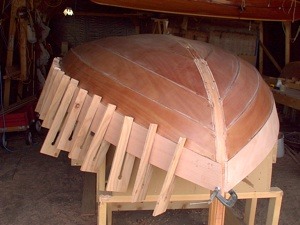
We have now installed ten planks out of the fourteen required. This bow view shows just how far down the inner stem post we are getting. Having to bend way down now. Some of the plywood clamps are needing wedges now, as this shot shows.
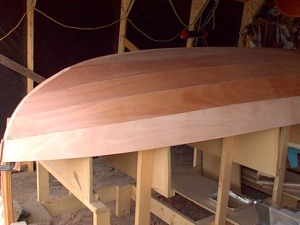
Fourteen, count 'em, fourteen planks installed (as seen from the bow). The shiny strake on the left side of the picture has been sanded, smoothed, shaped, and finally given another coat of epoxy to fill the weave of the cloth as a test for future finishing procedures. It'll need another coat to fill the weave.
Stern view. The previous planks look pretty good here but are in fact very dusty. Our second Wee Rob canoe is nearing completion in the background. The next step will be to finally true the "flat" all along the boat's centerline in preparation for the installation of the outer stem, stern, and deadwood.
So far it has been easy to clean up excess glue from the interior of the hull. I expect it will become harder as work progresses.