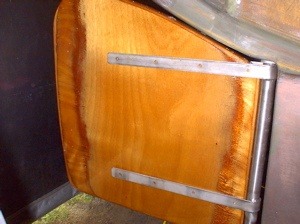
Starting with the business end of the steering gear, the rudder is tried in place. It's made of 3 layers of 9 mm plywood and shaped to a more or less streamlined profile. It has been glassed and once sanded smooth will get a couple of coats of West barrier coat additive/resin mixture and will finally get the same anti-fouling treatment as the hull.
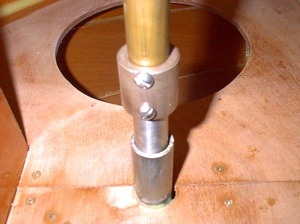
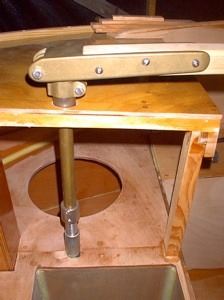
This view shows the rudder tube where it exits the sub deck. The tiller was designed to operate between the decks and this is how the hardware was built. However it soon became clear that with the outboard well location this was a poor idea. To solve the problem I extended the rudder shaft through to the deck proper where it has clear space to operate. I made the coupler from an ordinary bronze bearing from an auto supply store and extended the shaft with 1 inch solid bronze rod. Two 1/4 inch stainless steel bolts hold it together.
The shaft is supported at the deck level by another bronze bearing which is bedded into place with thickened epoxy. Both the through deck hole and the recess for the bearing were drilled a little oversize to allow some room for final adjustments.
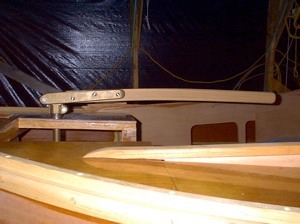
The tiller head completes the system along with the laminated tiller. Of course the tiller head is keyed into the shaft as well as using the pinch bolt.
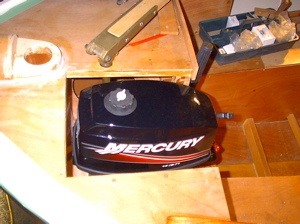
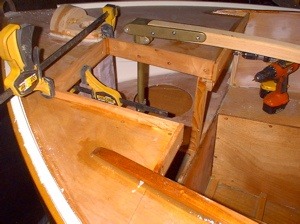
This is what has held up finishing off the aft cockpit. We recently realized that the deck opening for the outboard might not be big enough! All the 4 strokes I could find were too big and the 2 strokes are being phased out. With Alan's help in measuring his Mercury 5, I decided a Mercury 2 stroke 4 or 5 hp model would be my best hope. No local dealers had one, so we ordered one in. Apparently these motors will be discontinued this month and this may just be the last one shipped in Canada. In the end it did fit very nicely and my already cut and fitted trim could be installed as planned.
And on go the 3/8 inch mahogany trim boards. Just a little fillet work left and a bit of sanding and we'll be ready for varnish on the cabin sides etc to clear the way for the painting of the deck. With Rapidcoat this can be done in a weekend for 6 coats.
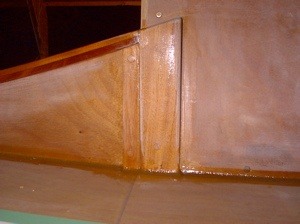
This is how the solid mahogany fairing block at the front end of the cockpit coaming came out on our boat. Viewed from the front, the block is about 2 inches wide at the top and tapers to about 1/8 inch at the bottom.
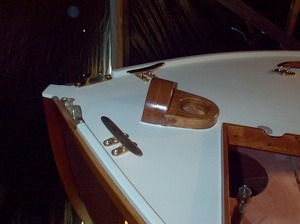
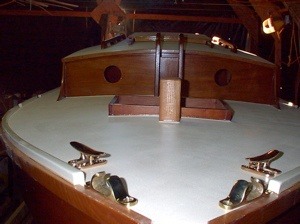
The decks have been painted with Interlux Interdeck anti skid paint. Two coats did a nice job. The deck hardware is now set into place for planning purposes; to make sure everything fits and doesn't get in the way of something else.
The view from the bow, again with hardware set into place. The Interdeck paint is a fairly thick paint that dries fast so the masking lines are very sharp and clean.
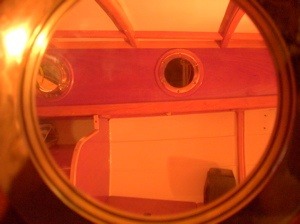
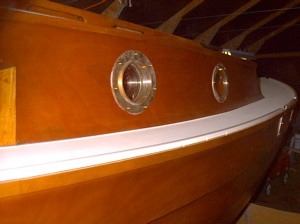
This shot shows the view through the opening port hole showing the fitting on the interior trim ring on the non-opening 6 inch deadlight opposite.
The new look of the starboard cabin trunk with the port hole and port light installed once and for all. The chainplates are in place now but are not bedded down. As it turned out I never did make it back into the cockpit to finish it before the cold arrived, so it will wait for spring.
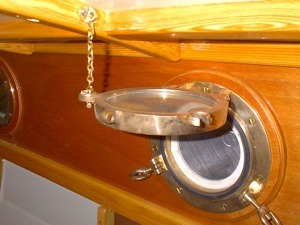
I’ve added chains to hold the ports in the open position. The photo doesn’t show it but the chain’s anchor is mounted to provide a good amount of pull towards the light ensuring it will not come loose easily.
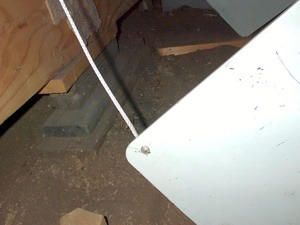
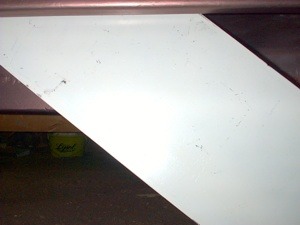
One of the bilge boards. It was tough getting it into place due to the cramped space under the boat. Tough also because the thing weighs 100 pounds. It took us about 4 tries for each one before being successful. Just stay clear when you miss with the pin!
To attach the 3/16 inch Spectra line, I drilled a 1/2 inch hole through the board near the aft upper corner. I then drilled another hole large enough for the line from the top edge into the first hole. The line is inserted into the hole and a stopper knot is tied in the line’s end. The knot is then pulled into the large hole and fills the hole nicely with nothing projecting to the sides to jam in the case.