If it is painted, varnished, or oiled, you’ll find it here. Some of these photos were on the old “Fitting Out” page but seemed out of place. Now they have a proper home.
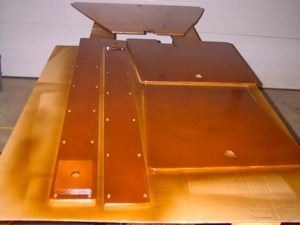
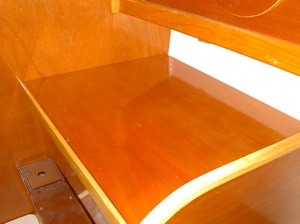
While the construction begins to wind down in the boat shop, the garage turned paint shop has been busy finishing many of the separate pieces. Here the bilge board caps, the cockpit floor (undersides) and the forward berth panel have all received 4 coats of Epifanes Rapidcoat. I've sprayed this on with a cheap HVLP gun and a small compressor. The rapid coat is not thinned, just loaded into the gun and sprayed on. The family insists that the hull's topsides must be bright so we'll spray Rapidcoat there too.
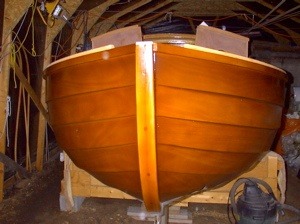
After some unseasonably cool weather we have finally gotten the varnish (Epifanes Rapidcoat) sprayed onto the topsides. The cockpit coaming and cabin sides are still epoxy coated though they look the same as the varnished areas. The dull surfaces have been sanded and are ready for varnish.
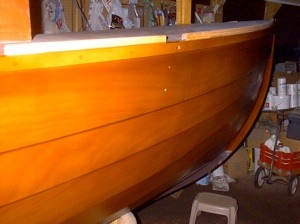
The aft view after 6 coats of Rapidcoat. I used almost 5 of the 750 mL cans to get the right thickness of coating. We lightly sanded the finish after 4 coats to level everything up.
And finally the area around the chain plates. The finish looks a little patchy in these shots because the wet varnish's solvent was still evaporating. The pictures don't show it but we used standard paint store masking tape and sheet plastic to protect adjacent areas while spraying the varnish. The toe rails will be painted the same off white we used in the cabin and the decks proper will be coated with Interdeck non-skid paint to match.
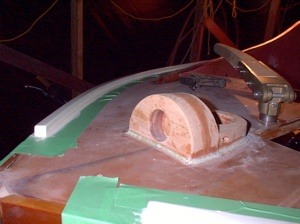
This is what I came up with for a bumkin mount/mizzen mast partners. I made it from two inch white oak glued and screwed together and then screwed into place. The hole is sized to suit the use of a leather chafing strip on the bumkin. The toe rail is now painted, leaving just the antiskid paint to complete the deck.
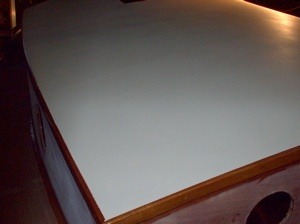
This is the cabin top now that it has been given two coats of Interdeck antiskid paint. It's an easy product to use, just roll it on and two coats will cover almost any surface. Next we'll add the hatch and grab rails, install the companionway hatch and start planning for the fitting of all the hardware.
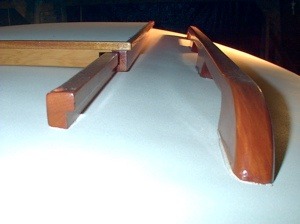
I've now mounted the companionway hatch rails and the grab rails onto the cabin roof. I still need to plug the fastener holes on the hatch rails.
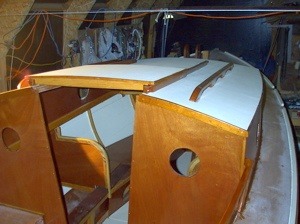
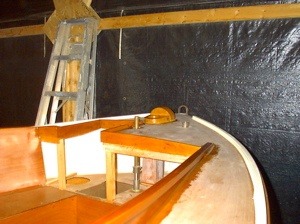
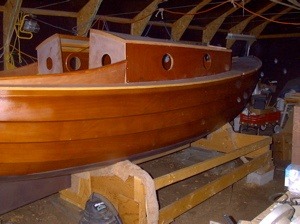
The view from the cockpit gives an overall impression of how the boat will look when we're finally done. The bulkhead and cabin trunk have three coats of varnish at this point.
The varnishing is also progressing around the aft cockpit. My priority at this point is to get all varnishing that contacts the deck done so we can get the deck painted before the cold weather sets in once and for all. If needed I can tent the boat and heat the interior so I'm leaving the cockpit work for now.
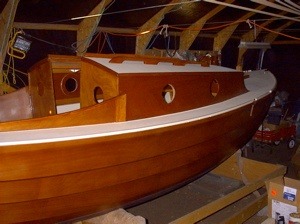
This is as long a shot as I can manage in my workshop but it gives a good idea as to how the boat is going to look when done. The warm weather held long enough to get the exterior finishing done so now it's into the cockpit to wrap up the paint and varnish work there and she'll pretty much be done at least as far as the construction is concerned.
This shot shows the port side deck. We painted the toe rail with Interlux Yacht Enamel to match the deck. The colours match perfectly. We decided to paint the toe rail so that the rub rail proper wouldn't appear too wide for the boat's length
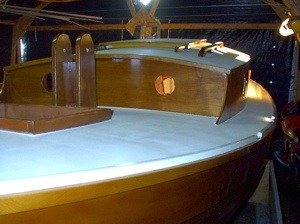
The aft cockpit now that it’s painted and varnished. I used the same Interdeck anti-skid paint I used on the decks as the seat tops act as a step down into the cockpit. Water tight hatches and the outboard pad will go on soon.
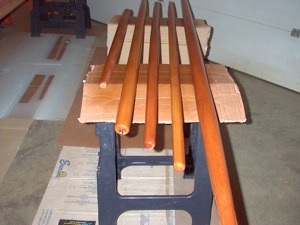
The spars have been in storage for a while. The last of the shaping, sanding, and fitting of the hardware was done during the winter months so about all that needs doing is the varnishing. I’m spraying them with Epifanes Rapidcoat. It’s a great product that can be recoated every 6 hours allowing rapid building of the needed coats.